

I’ve decided to start a “Make a Gift” series. This is timely for the holidays, especially since I need to get started early if I’m going to get them all done, but I also want to keep track of these projects since I give them away and forget I’ve ever made them.
Kicking off this series is a quick one, the I Spy sensory bag for little ones. I think the most difficult part might just be finding the materials to make it, like the vinyl, and finding fun stuff to put inside!
Materials:
- Outside Fabric (whatever size you would like, fat quarters are great)
- Inside/lining fabric
- clear vinyl (you can often find small amounts in the remnant bins)
- coordinating thread and sewing tools
How To:

First cut your outside and lining fabric to the desired size. I used leftover fabric from this top. I cut my fabric 8 1/2″ by 8 1/2″ because that’s the size of my quilting square! I also cut my vinyl the same size.
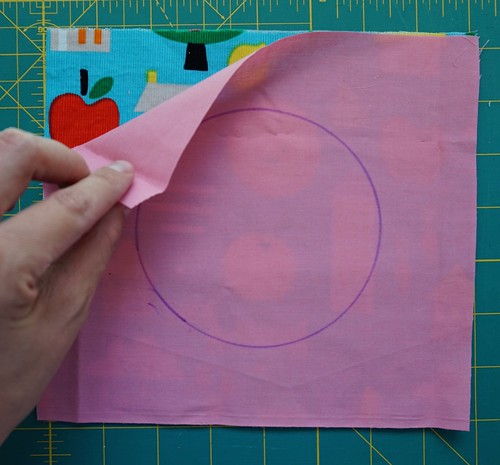
Then draw a circle on your lining fabric. I turned a bowl upside down on top of my lining fabric, then I used disappearing ink to trace the circumference of the bowl. I think the diameter is 4 1/2″ wide. Then with your outside fabric face up, place your lining piece with the circle on top of it, with the circle facing up.
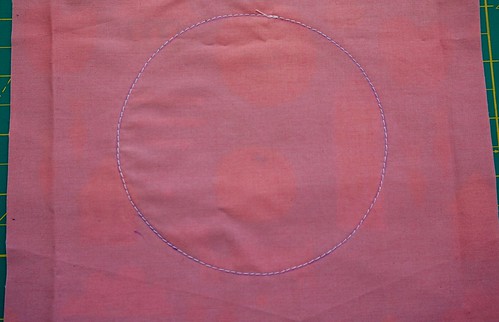
Sew them together by sewing on the circle you just drew.
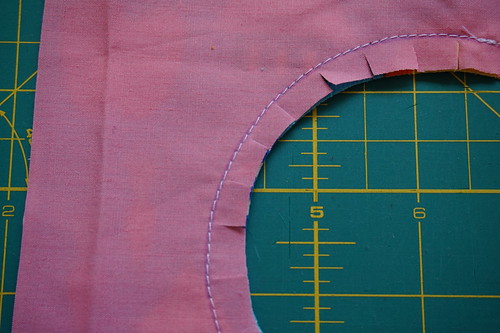
Snip the curves of the circle close to the stitches, but DO NOT cut through the stitches.

Flip your lining piece through the circle and press.
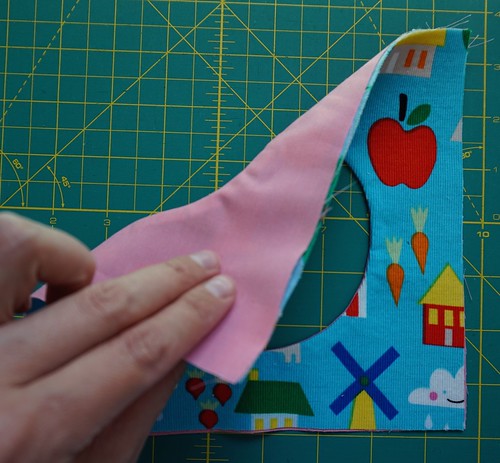
This is the front of your sensory bag.

Now place your front piece face down and place your vinyl on top of it. Pin the vinyl to it at the edges. Since the pins will put holes in the vinyl, don’t pin near the center near the circle.
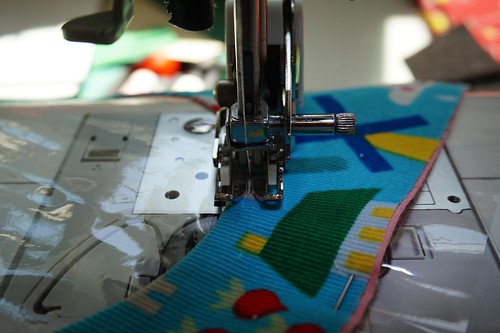
Sew closely around the front of the circle, with the right side facing up, and the vinyl down at the bottom. You can see my pins at the edge. I used my walking foot, but that’s because it was already on my machine from another project. It helps feed the top through evenly.

Trim the vinyl around the back of the circle leaving about an 1″ or so around the stitches. Here is what it looks like afterwards. I didn’t have any problems with the vinyl sticking to the bottom, so I did nothing special there. I did use a 90/14 sewing needle for this project.
I didn’t get a picture of these steps unfortunately, but place your back outside piece on top of your front piece with right sides together. Sew all the way around it using a 1/2″ seam allowance and leaving a couple of inches open to turn right side out. Clip your corners to eliminate bulky corners when you turn it right side out.
Now fill it! I used white beans since that’s what we had on hand, but you can use rice or whatever smallish type item you have. Add some small toys to find. You don’t want to fill it too much though, then the items won’t move around enough for the little one to spy things.
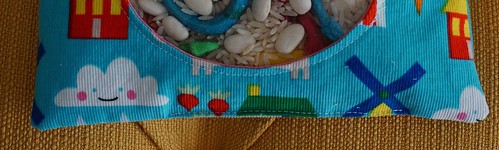
Press the opening, and sew it shut by top stitching close to the edge, or sew shut by hand.

You’re done!
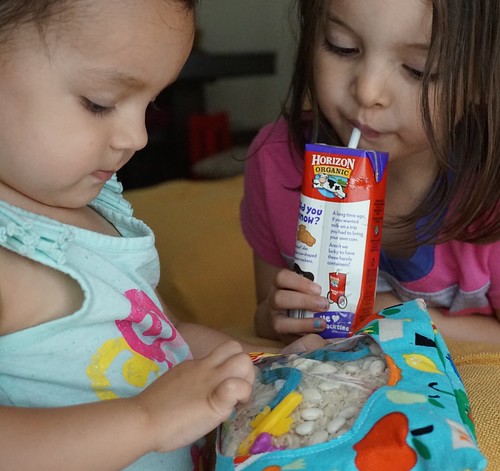
My girls love it!

Especially my littlest one.
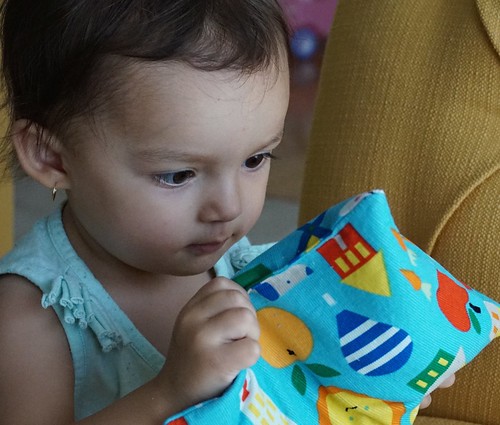
She can’t get enough of it!
I’ve seen many different versions of this online, but this is a really simple one meant to use up scraps. It’s also great to leave in the car for some last minute distraction! Whatever works right!?

